
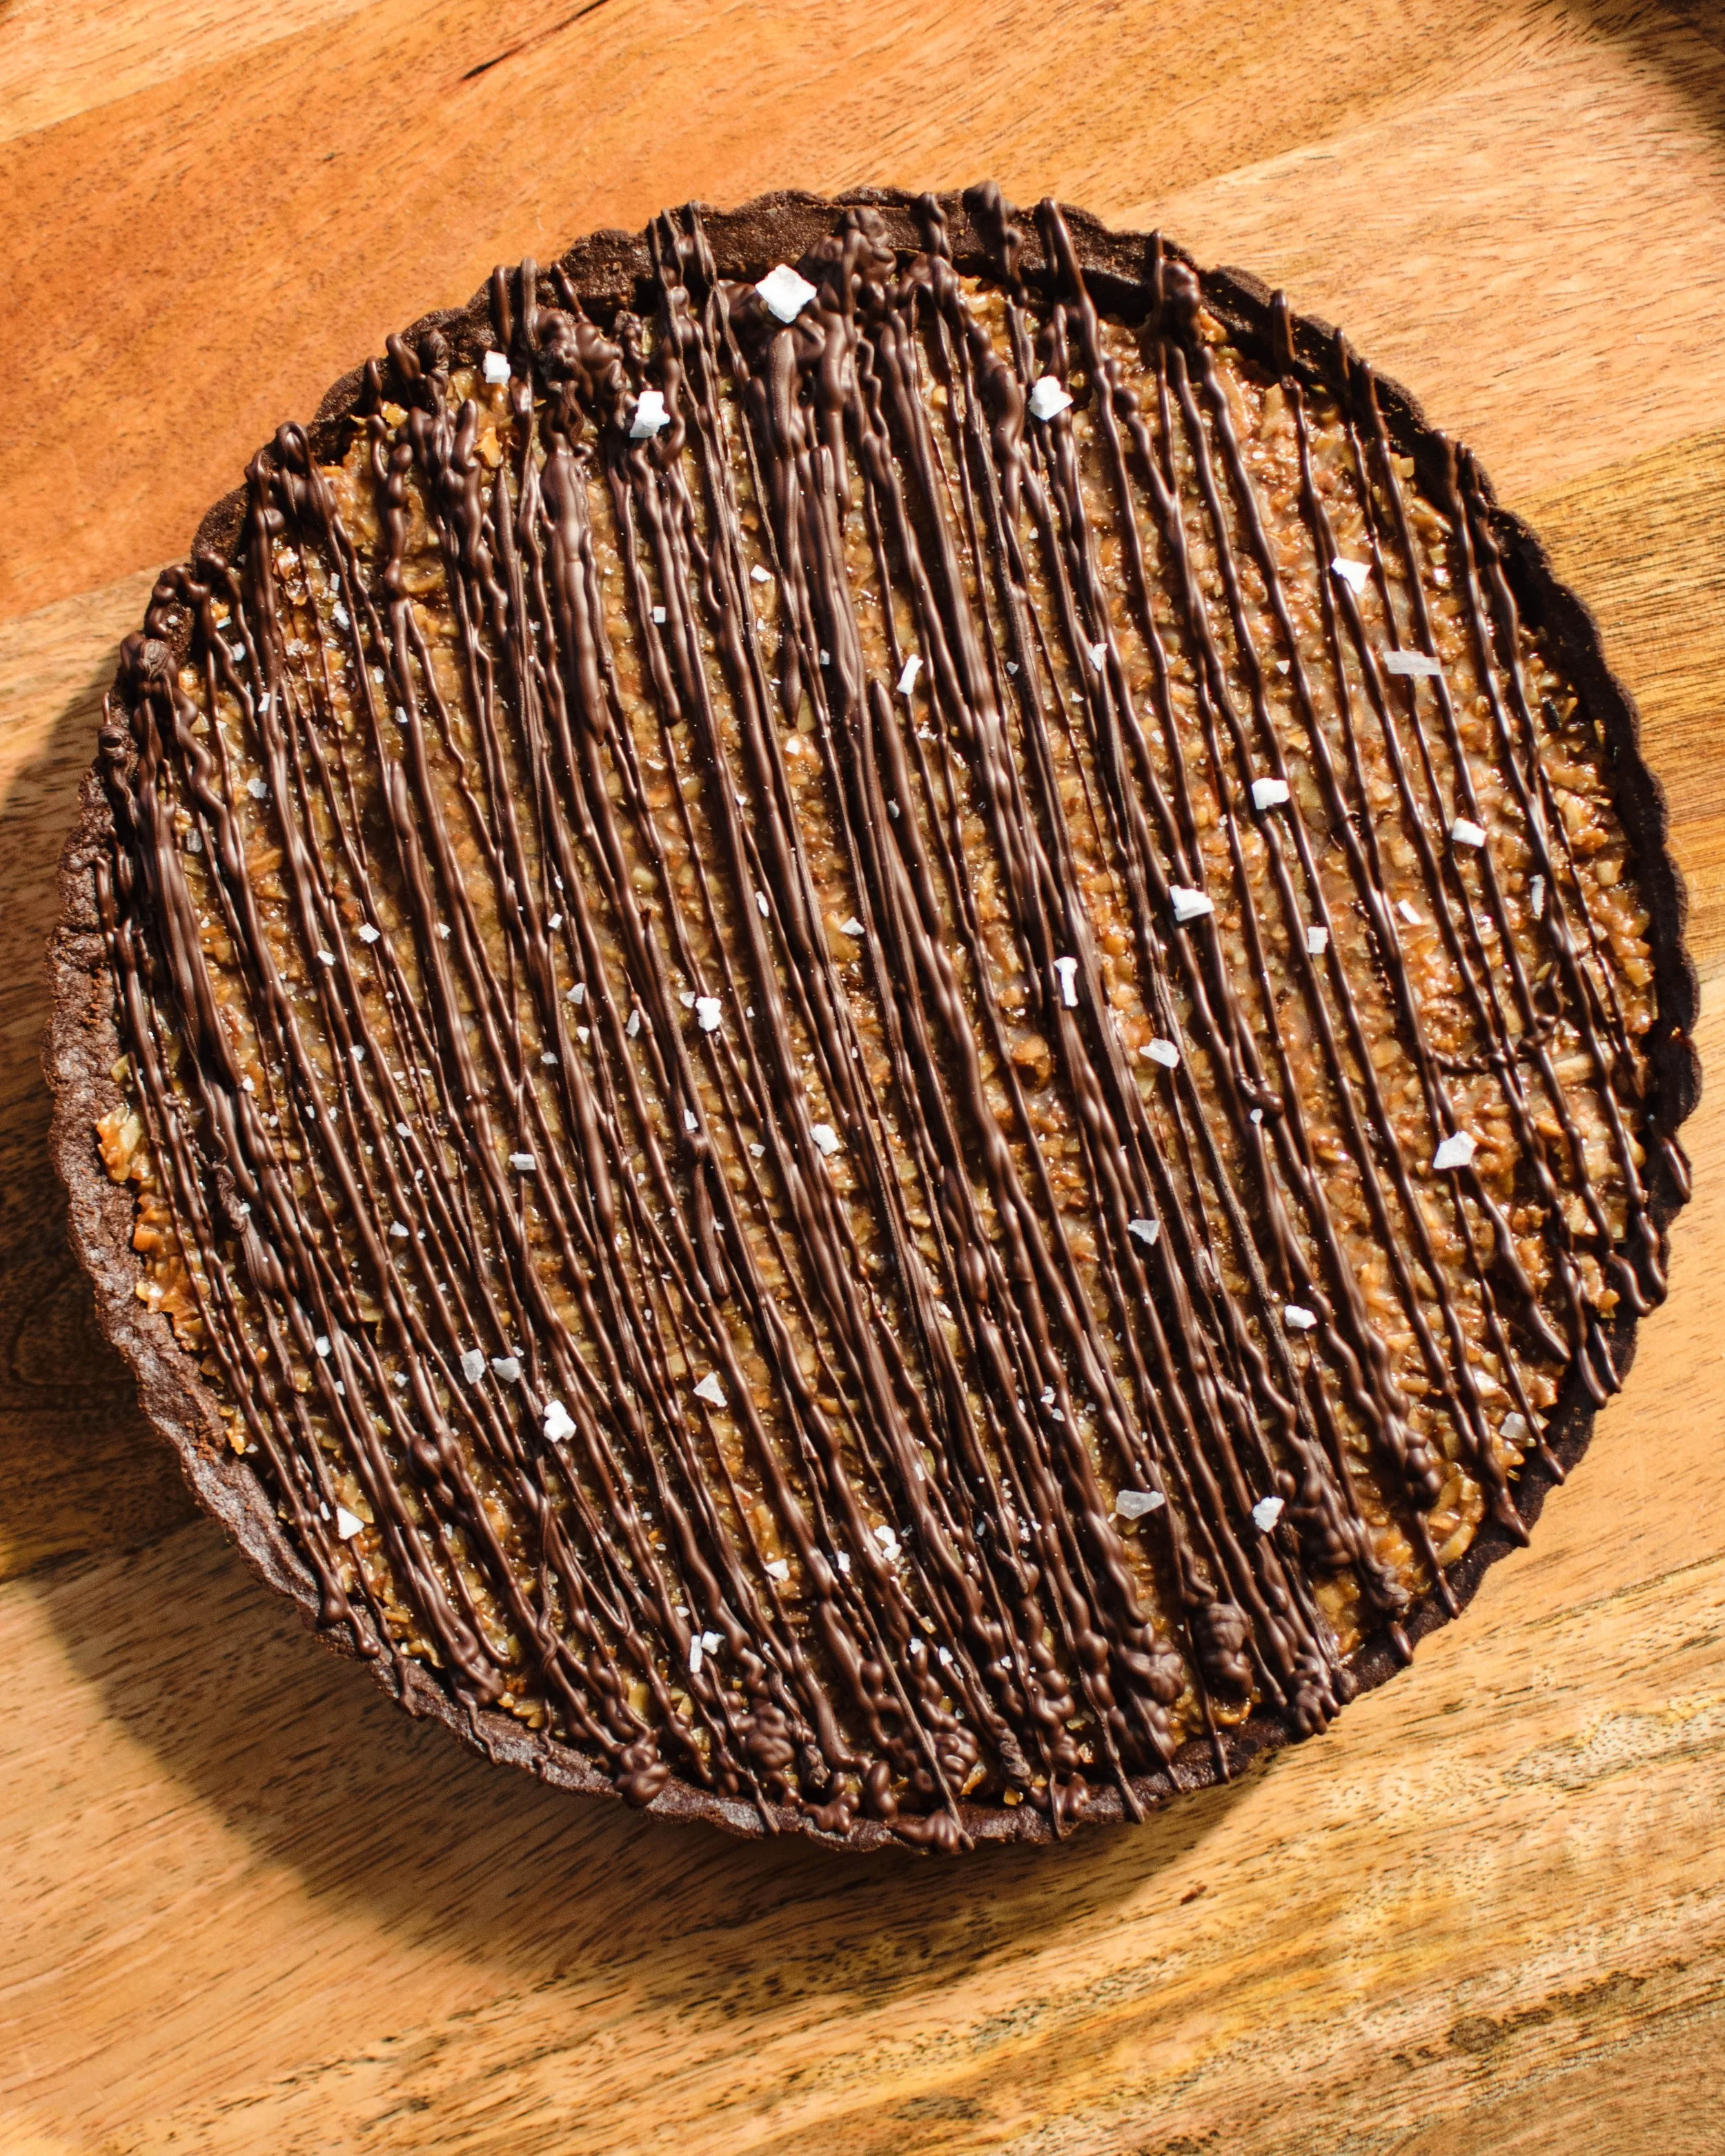
Coconut Cara-Sel Tart
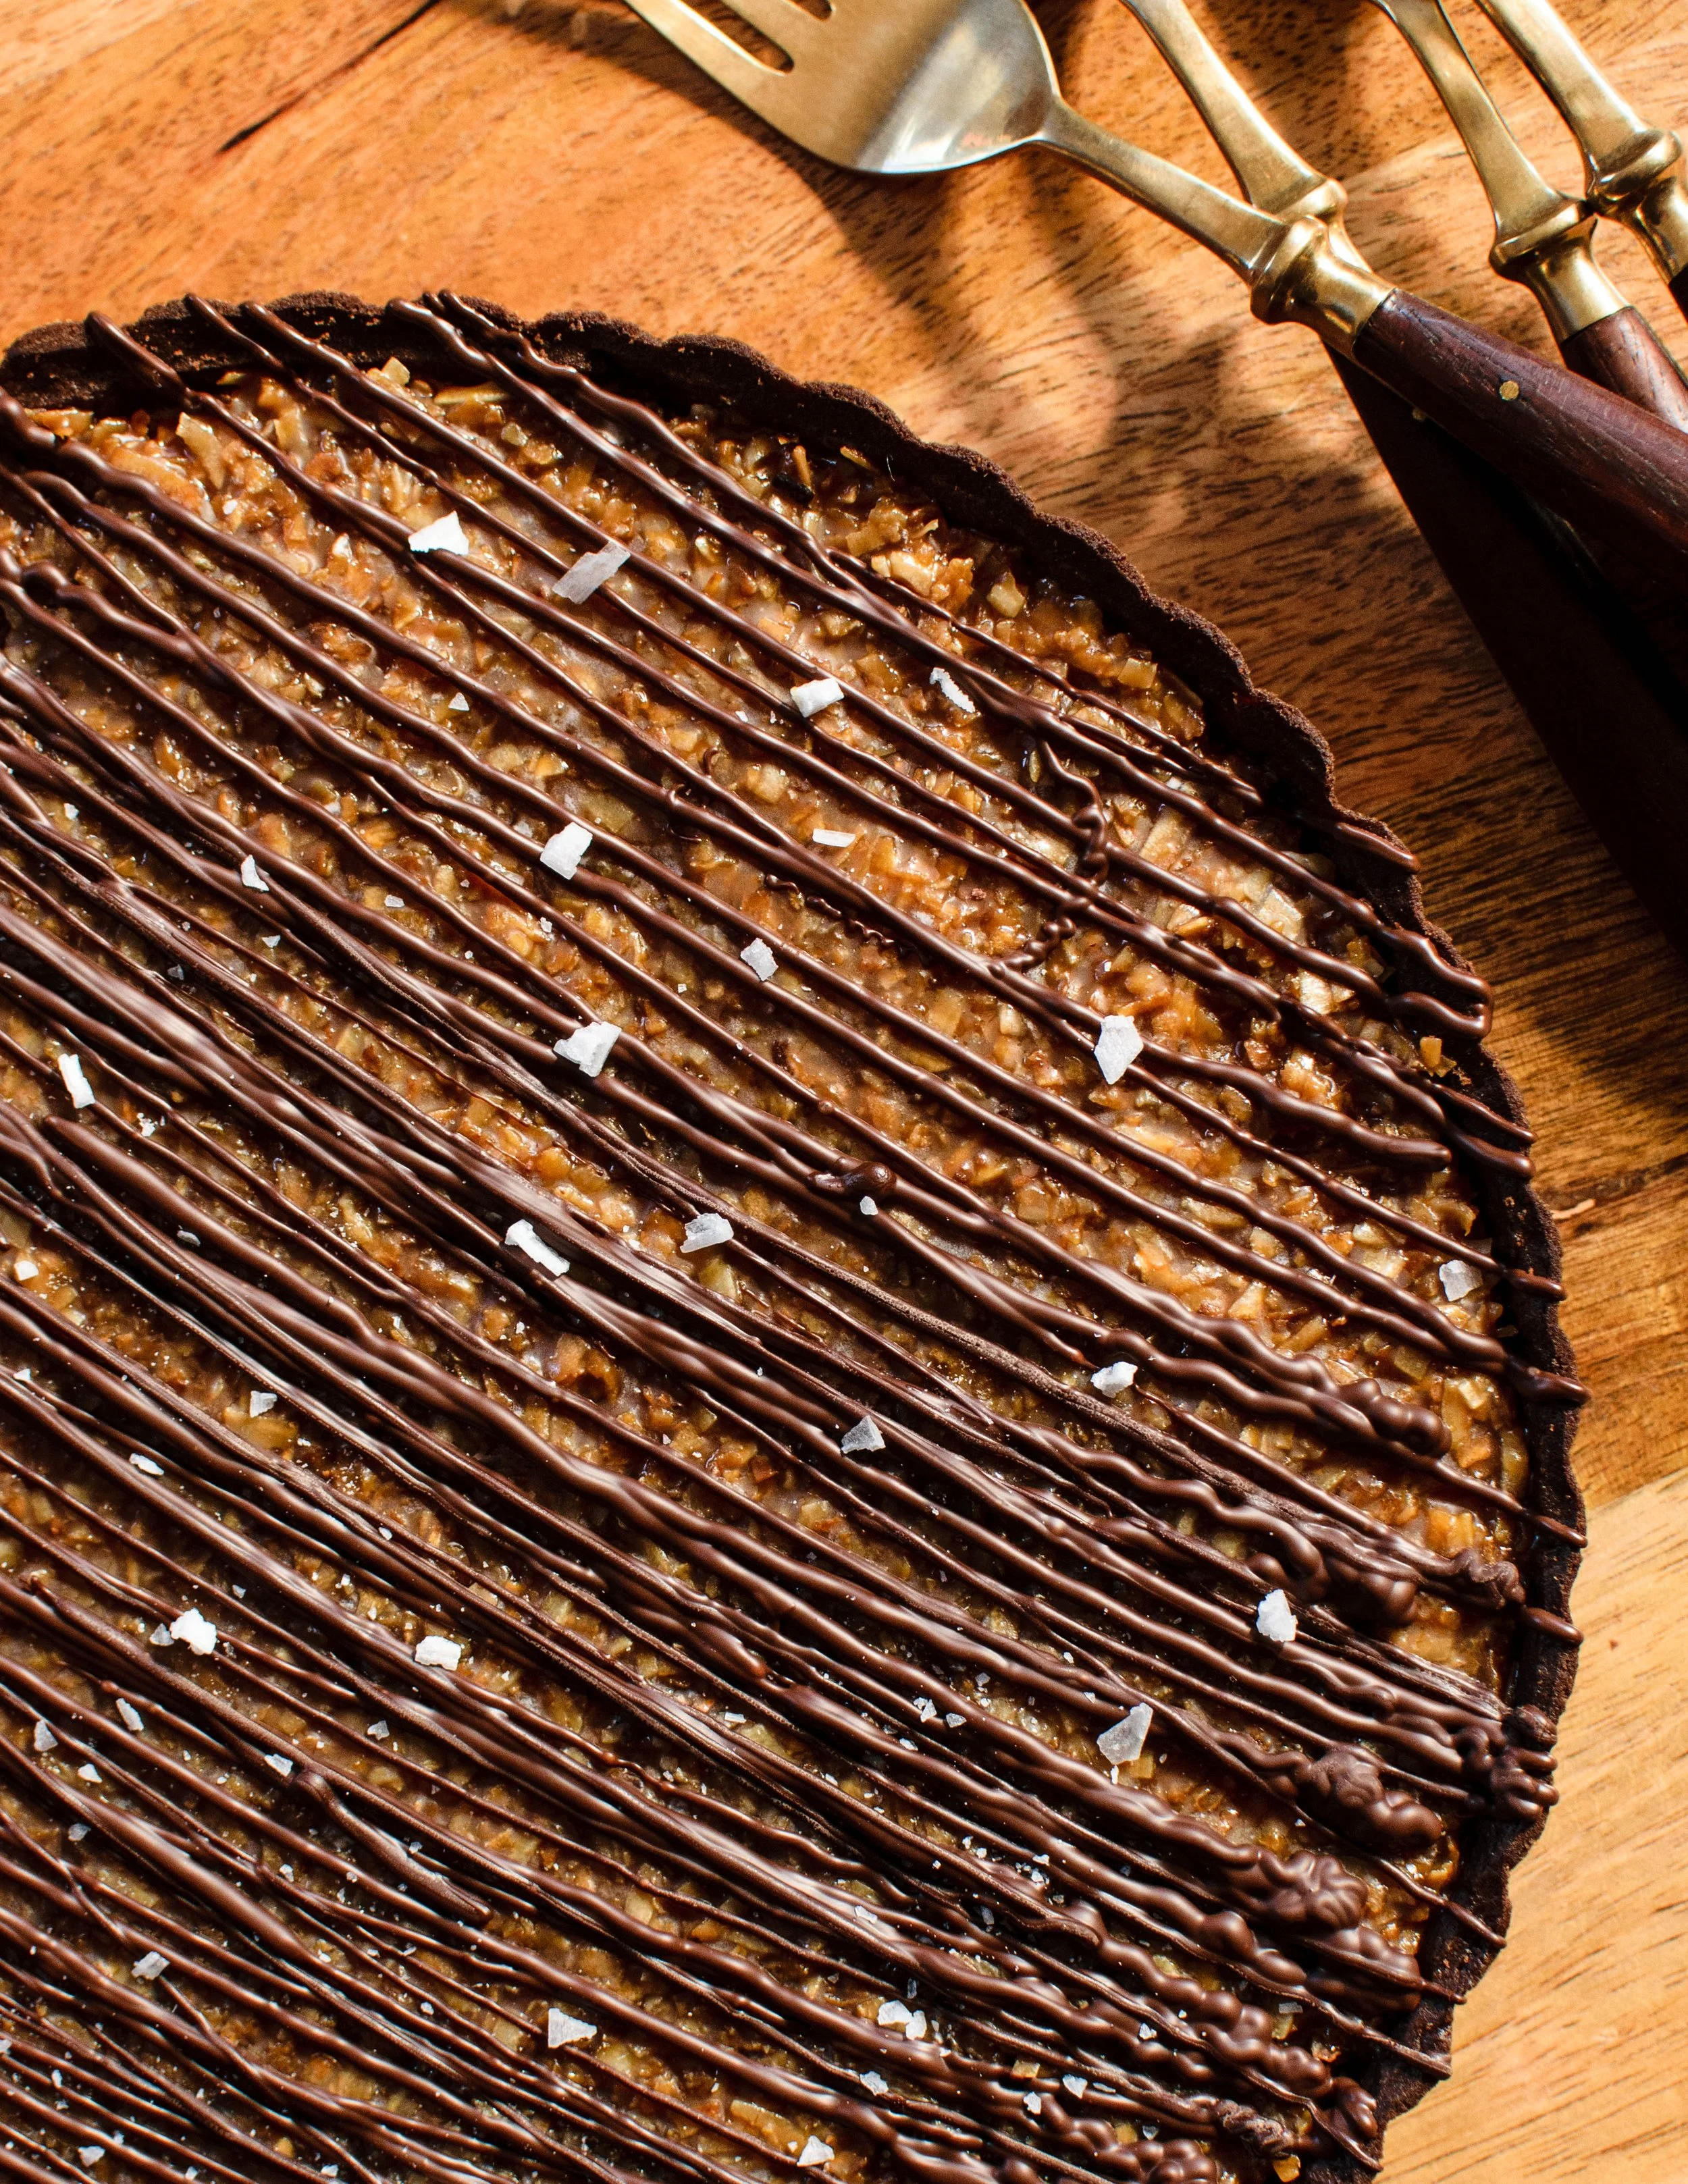
Adapted from a recipe by Vaughn Vreeland in The New York Times, this Coconut Cara-Sel Tart has a few components but comes together easily thanks to a 6-ounce jar of Cara-Sel Salted Caramel Sauce, which makes quick work of the most challenging part of the original recipe.
A chocolate shortbread crust forms the base, with coconut appearing twice in the filling—first in a frangipane layer and then in a chewy, caramely layer spread on top.
Everything is finished with a chocolate drizzle and a sprinkle of flaky salt. Think of it as a Girl Scout Samoa or Caramel deLite cookie, dressed for a party.
The tart isn't difficult to make, but the chilling, baking, and cooling steps take time, so I recommend making the crust a day ahead. If you don't have a food processor for the crust, see the variation below. This recipe can also be made in a 9-inch pie pan.
Coconut Cara-Sel Tart
Ingredients
For the crust:
1 cup (128g) all-purpose flour
½ cup (56g) powdered sugar
¼ cup (20g) Dutch-processed cocoa powder
1 teaspoon kosher salt
6 tablespoons (85g) cold unsalted butter, cubed
1 large egg, beaten
1 teaspoon vanilla extract
For the fillings:
1 ½ cups (156g) unsweetened shredded coconut, divided
8 tablespoons (114g) unsalted butter, at room temperature
½ cup (100g) granulated sugar
2 large eggs
½ cup (60g) almond flour
1 tablespoon all-purpose flour
1 teaspoon vanilla extract
½ teaspoon kosher salt
6 fl. oz. (240g) Cara-Sel Salted Caramel Sauce
2 oz (57g) bittersweet chocolate, chopped
Flaky salt for serving
Instructions
To prepare the crust, place the flour, powdered sugar, cocoa, and salt into a food processor. Pulse a few times until ingredients are well combined.
Add the butter and pulse until the mixture takes on the texture of wet sand.
Add the egg and vanilla, pulsing for several short bursts until most of the dough forms a large ball.
Remove the dough from the food processor and transfer to a sheet of plastic wrap or parchment paper. Press any loose pieces of dough together and shape into a disk. Wrap well using the same plastic wrap or parchment paper and refrigerate the dough for at least 30 minutes.
Remove the dough from the refrigerator. If refrigerated for longer than 30 minutes, allow it to sit out for a bit, so it's closer to room temperature, but still cool, to help prevent large cracks when rolling out.
Lightly flour your counter and a rolling pin. Unwrap the dough, place it on the counter, and roll out into a 12-inch round.
Transfer the round to a 10-inch tart pan, pressing it into the base of the pan first, then gently but firmly pressing it into the fluted edges. Trim any overhang with a sharp knife.
Freeze the unbaked crust for at least 20 minutes.
Preheat the oven to 375°F.
Remove the unbaked crust from the freezer and, using a fork, poke holes all over the bottom of the crust.
Bake for 15 minutes, until the crust is fragrant and appears dry. Remove from the oven and let cool on a wire rack. The crust can be covered and stored overnight at room temperature, allowing you to continue with the fillings the next day, if you choose.
Reduce the oven to 350°F (or preheat to 350°F if continuing the next day). Spread 1 ½ cups coconut on a baking sheet and bake for 4 to 7 minutes, stirring occasionally, until toasty and golden brown. Remove from the oven and set aside.
Prepare the frangipane: Using a stand mixer fitted with the paddle attachment or a hand mixer and large bowl, beat the butter and sugar until smooth, about 2 minutes.
Add eggs and vanilla to butter and sugar, beating for another minute until well combined and the mixture is somewhat aerated. If it looks a little curdled, you’re on the right track.
Scrape down the sides of your bowl, then beat in salt, flours, and ½ cup toasted coconut for one more minute or until the ingredients are fully incorporated.
Transfer filling to the cooled crust, spreading it evenly with a spatula or spoon.
Bake for 20 to 25 minutes, until filling puffs up and a toothpick inserted in the center comes out clean. If the crust starts to look too dark towards the end of baking, cover the edges loosely with foil or crust protectors. When done, remove from the oven and cool on a wire rack.
Once the tart is cool, prepare the second filling layer. Heat Cara-Sel Salted Caramel Sauce in a medium-sized bowl in the microwave for about 20 to 30 seconds or in a medium saucepan on the stovetop. The caramel should be warm enough to flow easily, but not exceedingly hot.
Mix the remaining 1 cup of toasted coconut into the warm caramel until evenly coated. Immediately spread the mixture onto the tart and let the tart cool.
Prepare the chocolate drizzle by microwaving chocolate in a small bowl, stirring after 10-second intervals until melted, or by melting chocolate in a bowl set over a pot of simmering water.
Scrape melted chocolate into a piping bag or zip-top bag. Before snipping off the tip or corner, remember that you can always make the opening larger, but you cannot make it smaller. Cut a smaller opening than you think you need and try a single “test drizzle” on an empty plate before piping on the tart. If the drizzle is too thin, snip off a little more of the tip or corner to make the opening larger. Drizzle chocolate over the tart and top with flaky salt to taste.
You can serve immediately, but I like it best after the fillings have had a few hours to meld together. The tart will keep, covered, for 2 to 3 days on the counter or for up to 4 days in the refrigerator. Enjoy it at room temperature or cold.
Hand-mixing variation: If you do not have a food processor, you can make the crust by hand. Mix flour, powdered sugar, cocoa, and salt in a medium bowl until well combined. Cut in butter using a pastry cutter or your hands until the mixture begins to look grainy. Add egg and vanilla and continue to mix gently until the dough begins to come together into a ball. Transfer the dough to a sheet of plastic wrap or parchment paper, then continue with Step 4.